 UnedPod
Step-by-step: how a container home is built
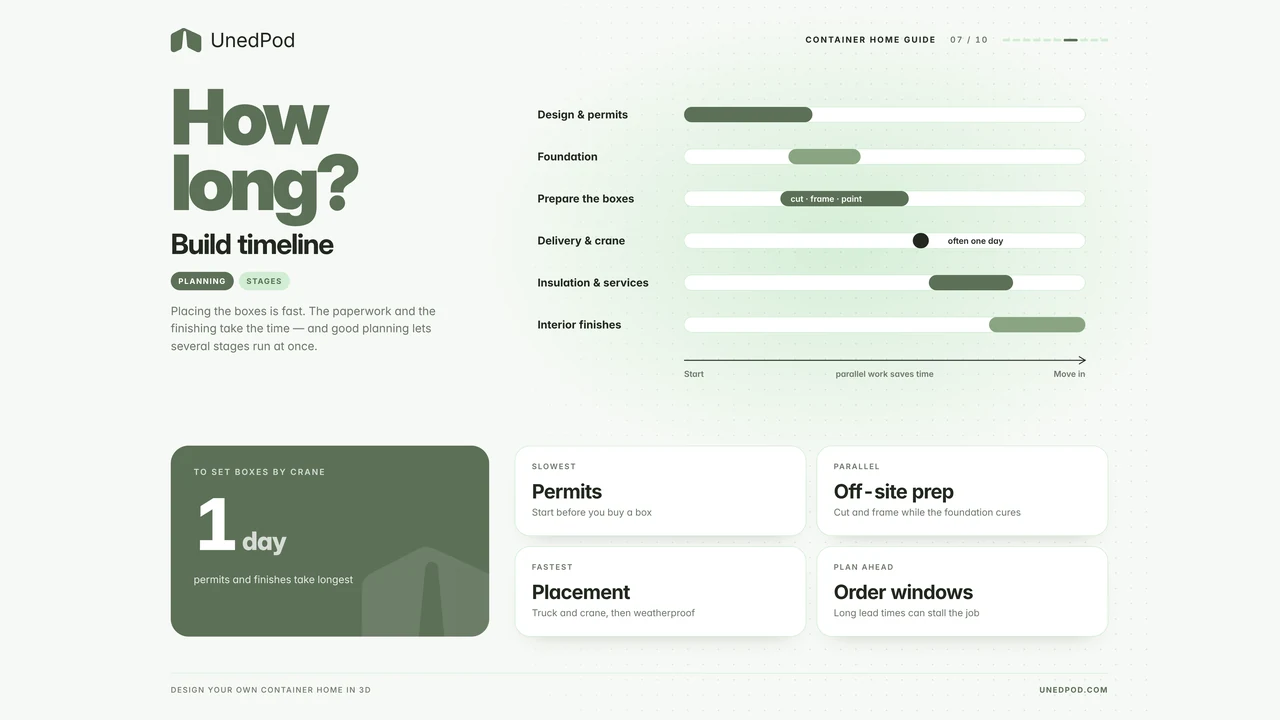
Building a container home follows a logical order. Each stage depends on the one before, so knowing the sequence helps you check the work and avoid mistakes.
1. Prepare the site
Clear, level and drain the site. Mark the footprint and the access route.
2. Build the foundation
Piers, a slab or a pad, depending on the soil and the design. Allow the concrete to cure before the box arrives.
3. Place the containers
Use a crane or a lift. Set the boxes level, check the corners and secure them to the foundation.
4. Cut the openings
Mark and cut the openings, then reinforce each one. The cutting guide explains the steps.
5. Insulate and seal
Add insulation, a vapour barrier and cladding. Seal every penetration.
6. Install services
Water, drainage, electrics, heating and ventilation. Get them inspected before the walls are closed.
7. Finish the interior
Floors, walls, kitchen, bathroom and fittings.
8. Final checks
Inspections, the certificate of occupancy and a walk-through for leaks and drafts.
Keep the design in the UnedPod configurator in step with the build, so the drawings and the house match.